For my research project, I chose Melrōse which is a MIDI programming environment for composing MIDI signals and sending them to a synthesizer or DAW. Melrōse uses a custom language to compose notes and create loops to play.
I found the installation instructions to be somewhat unclear. The installation package didn’t open on my computer, so I attempted to build it from the source. This process required significant effort to get it functioning properly, as some steps in the instructions were confusing or ambiguous. Therefore, I thought it would have been helpful if there was a video tutorial demonstrating the entire installation process and an introduction explaining how Melrōse interacts with a DAW and synthesizers.
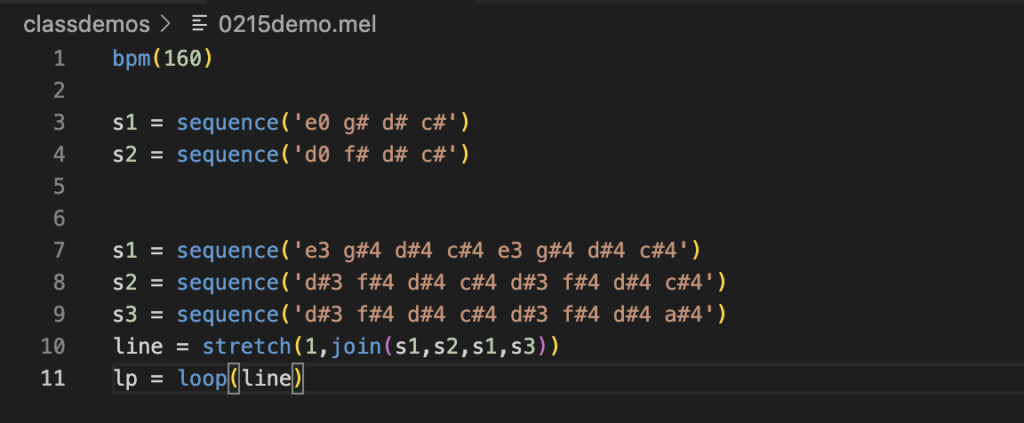
Once my installation was complete, I was able to send midi signals from my Visual Studio Code to my DAW. For this to work, I had to install the Melrōse plugin on VS Code and arm the track of my choice on my DAW. Then I started playing around and experimenting with different notes and functions. I thought that the documentation of the project was quite limited, so some functions were either missing or unclear.
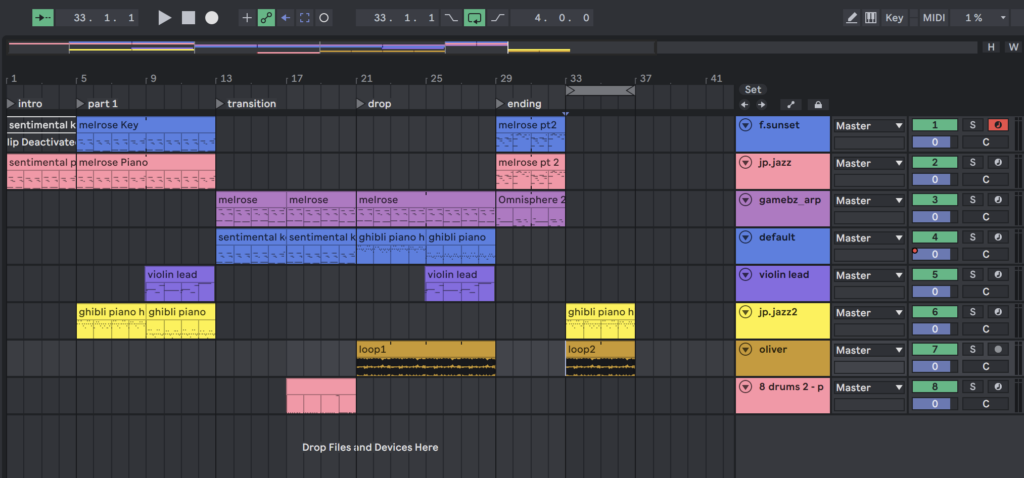
Despite these limitations, I found it fun to play around with Melrōse, especially when it’s used alongside my project in DAW. This workflow allowed me to draw inspiration from the loops I made in Melrose and further explore that idea on my DAW. After creating a simple loop, I was able to build a short demo in my DAW based on that loop. However, Melrōse’s limitation of sending only one signal to the output at a time meant that live layering of different sounds and patterns was not possible.
Screenshot of my VS Code:
Screenshot of my Ableton project: